
Building Unity Games for the Windows Store: The Ultimate Guide


By now, you might’ve published your game on the MacOS App Store after reading my handy tutorial. Or, you may already be distributing your game for Windows on Steam after learning about it in my guide. Now, it’s time to publish our games on the Windows Store!
Introductory Knowledge
First, note that modern Windows Store apps run on the Universal Windows Platform (UWP). Gone are the days of building an .exe file for each architecture (x86, x64, ARM). Now, you can build one binary with all app versions included, and the Windows Store will automatically download the right one! Since this is such an improvement over the old way of doing things, the Windows Store requires all new app submissions to be UWP-compatible. This means we’ll have to build for UWP from Unity. This also means you must develop on a Windows machine to be able to publish for Windows Store, since there is no UWP build support from Unity for Mac or Linux.
Prerequisites
You’ll need a Microsoft Partner Center account. You need to also have made an Entra ID account, and have made that Entra ID account a tenant in your Partner Center account. (Entra ID = “work or school account”, which is distinct from your personal Microsoft account.)
You’ll also need Visual Studio for Windows, along with the Windows SDK installed.
Building from Unity
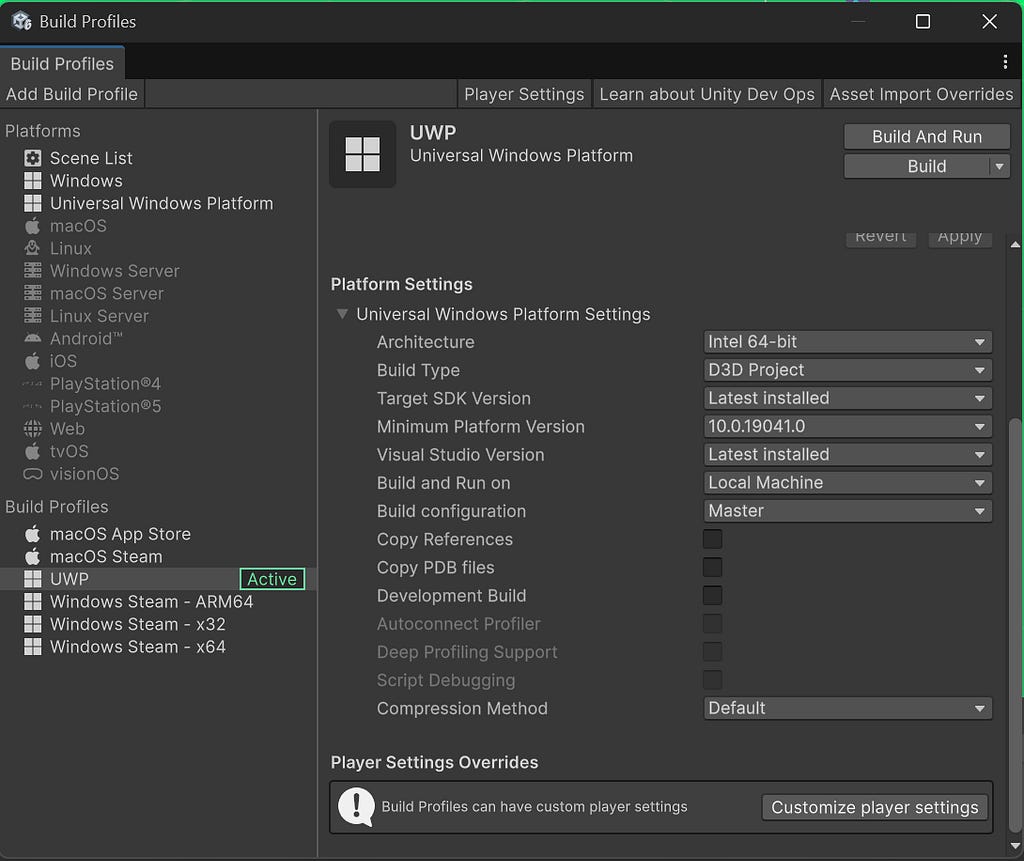
First, switch your platform to Universal Windows Platform in Unity.
In the Player tab under Project Settings, create a test certificate. Specify a password. (Note that this certificate is only used for local debugging; when you associate your app with the Windows Store, it will get replaced.)

Important: locate your newly-generated .pfx file and double-click it! This will install it in your Windows credential store.
In Build Settings (Ctrl+Shift+B), make sure build configuration is set to Master”; set architecture to whatever architecture your development machine is using. (We’ll be able to build binaries for other architectures later!) Also make sure development build is unchecked.
Now, build your project! The resulting artifacts will be a Visual Studio solution. At this point, make sure you have the latest version of Visual Studio for Windows installed. (The free version is fine.)
Testing your Project in Visual Studio
Let’s make sure our binary works on our own machine before submitting to the Store.
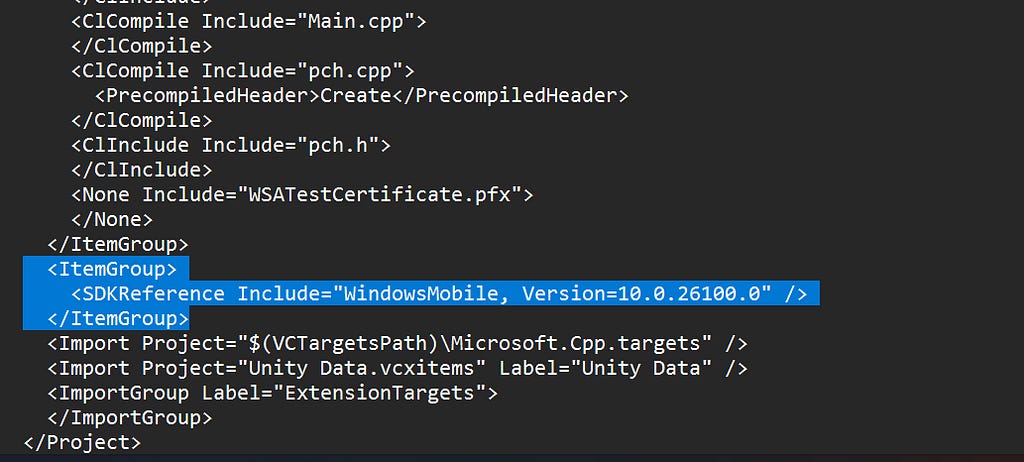
First, we have to take care of a known issue. Open the .vcxproj file in Notepad. Delete the <ItemGroup> element which contains an <SDKReference> to WindowsMobile .
Now you can open the .sln file that was built by Unity.
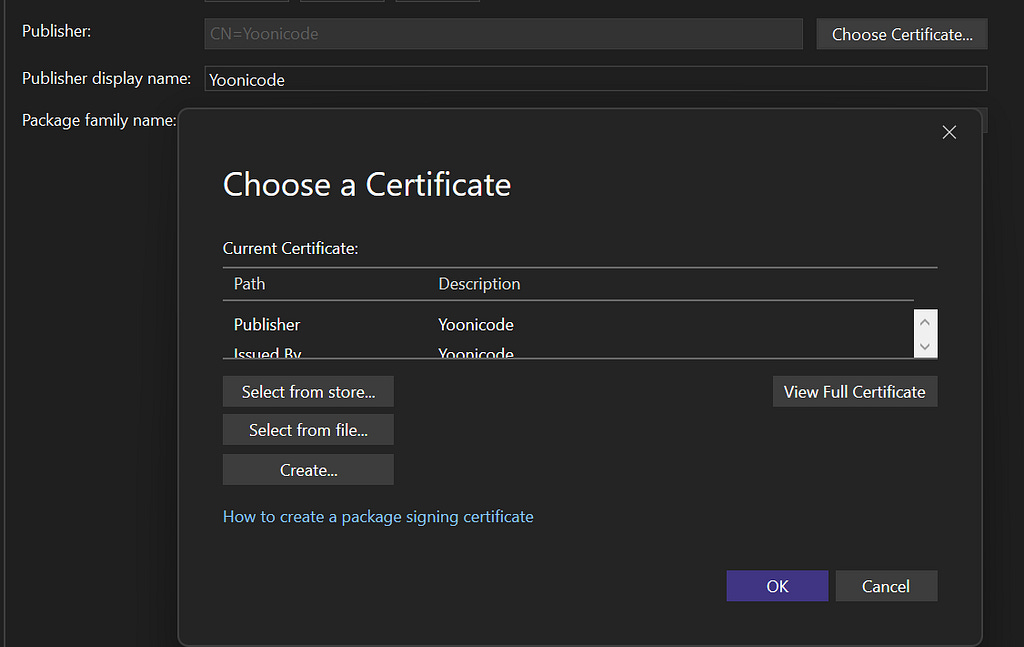
We’ll need to tell Visual Studio to use the testing certificate we generated. In your Solution Explorer, open the Package.appxmanifest file. Under Packaging, select Choose Certificate. Navigate to the certificate you created and enter the password.
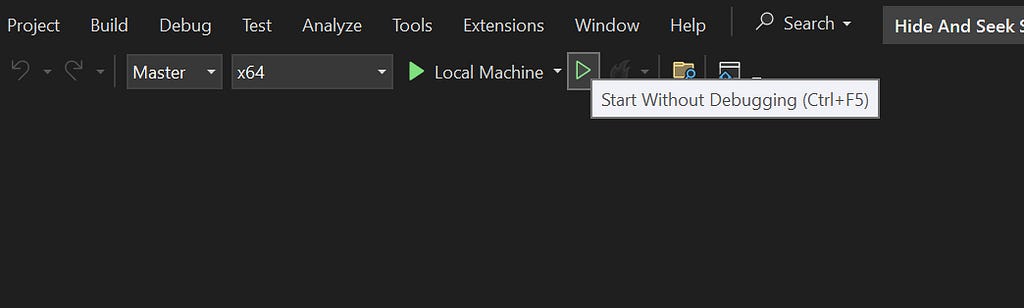
In your solution view, set the configuration to Master and set the platform to whatever architecture your development machine uses. Click Start without debugging (the hollow green triangle).
Publishing to the Store
If your game works locally when run through Visual Studio, it’s time to publish a package to the Store.
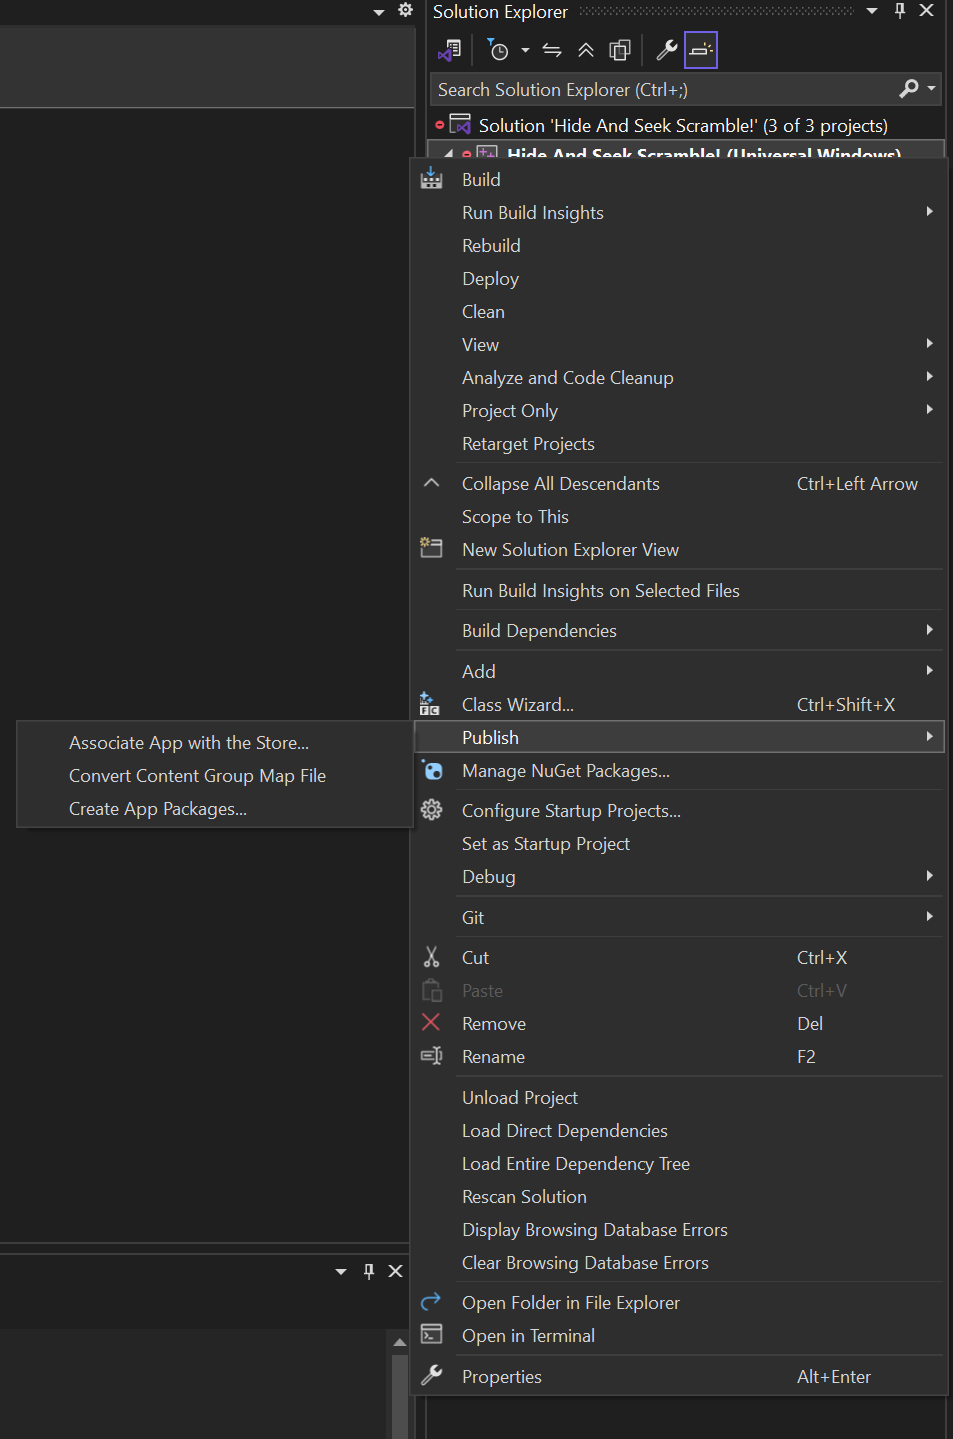
First, let Visual Studio know that your app is associated with a Windows Store product. Right click on your UWP project (not the solution—it should have the “++” icon.) Go to Publish → Associate App with the Store.
Important: log in with your Entra ID tenant account, not your personal Microsoft account!
Right-click on your project again; go to Publish → Create App Packages. Select Microsoft Store as <your app name>.
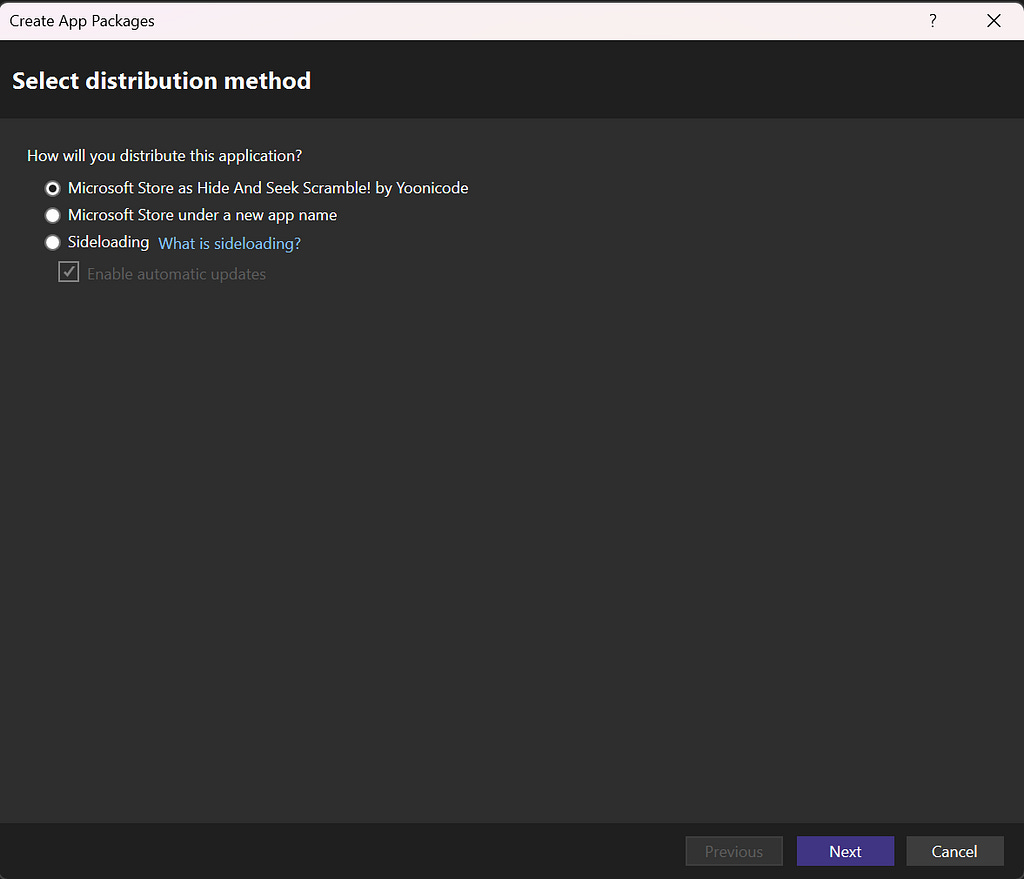
Set “generate app bundle” to Always, to let Visual Studio know to combine your three architectures into one file. Deselect ARM (32-bit) support since the latest versions of the Windows SDK do not support it. You may also want to check, then uncheck ARM64 build support (see this bug report).
Once your bundle finishes building, run the Windows App Certification Kit tester. Don’t worry if the tests don’t pass—this might just be indicative of quirks on your local machine, and your submission should get through app review just fine.
Upload the generated unified .msixupload file via the web interface in the Microsoft Partner Center. You’re done!
Troubleshooting
Here are some common issues I’ve found while building to Windows.
“Unable to start debugging”: right click on the C++ project; go to Configuration Properties → Debugging → selectg Local Windows Debugger. (SO)
“GameAssembly.dll is not a valid Win32 Application”: in Solution Explorer, right click your C++ project and click “set as startup project”. (Unity Forums)
Hope this guide helps. Check out my games at yoonicode.com!